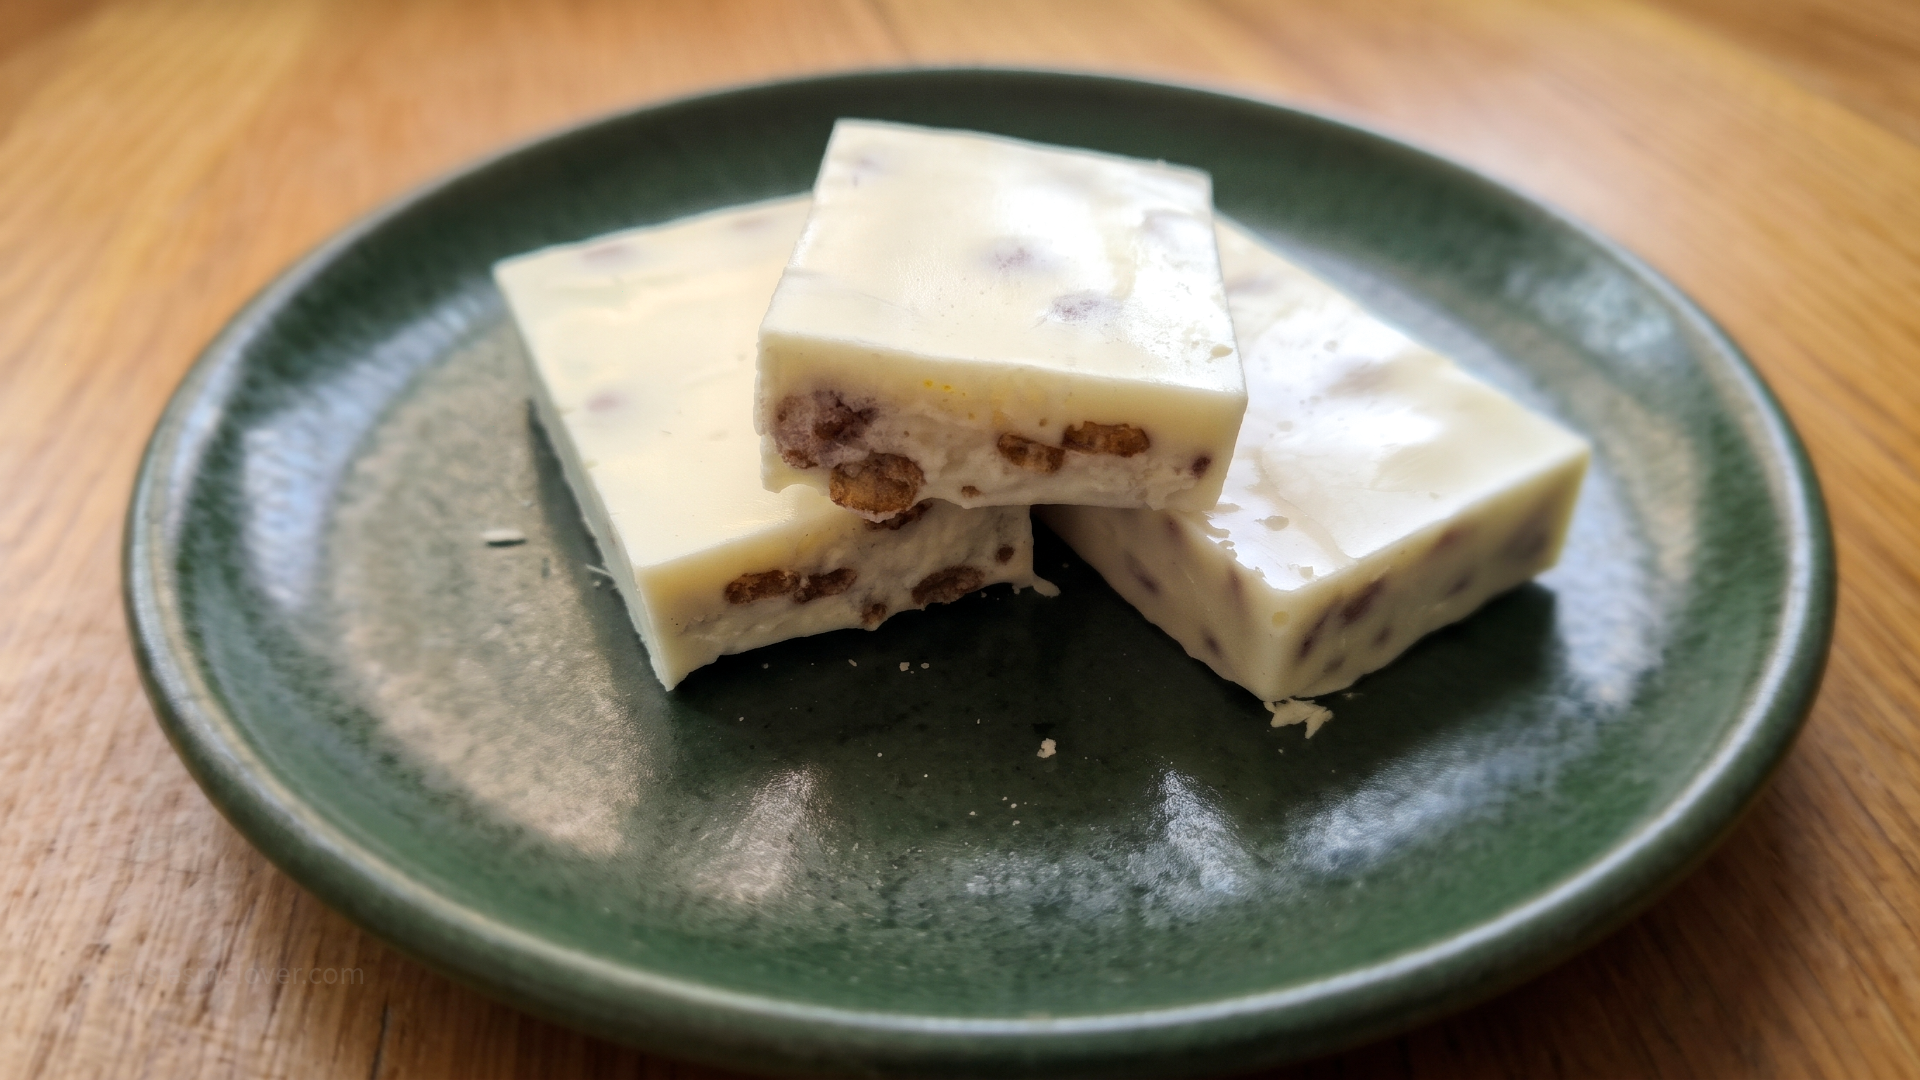
These three-ingredient reverse crunch candy bars are so easy to make! Image source: Daisies in Clover
The following sections feature several affiliate links or ads, meaning we’ll earn a small commission if you purchase through these links. Please see our privacy policy for more details.
My favorite candy bar for a stressful day is the classic Nestle Crunch bar. But, I took a look at the Cocoa Krispies in my pantry, and I had an idea… reverse crunch bars! This recipe flips the classic recipe on its head with chocolate cereal crisps and vanilla instead of milk chocolate.
They are so easy to make, and they’re perfect for a recipe your kids can help with too! You only need three ingredients, a microwave, and a fridge. There’s no baking, no stove needed, and it takes around 30 minutes from start to finish.
Now, I made this recipe using vanilla baking chips because my family is not fond of white chocolate. If I made these only for myself, I would use white chocolate baking chips instead, so use what you like! This is a really adaptable recipe, so you can swap out the mix-ins if you don’t love Cocoa Krispies, and you can even use milk chocolate with the chocolate cereal if you really want to double-down on the flavors!
Why You'll Love These Bars
Only 3 ingredients. Vanilla chips, Cocoa Krispies, and a little vegetable oil if you need it.
No baking. Everything happens in the microwave and the fridge.
Fast. Your bars can be set in about 10 minutes in the freezer.
Easy to customize. Swap the cereal or toss in sprinkles for any occasion.
Great for sharing. Think party dessert tables, goody bags, lunchbox treats, and homemade gifts.
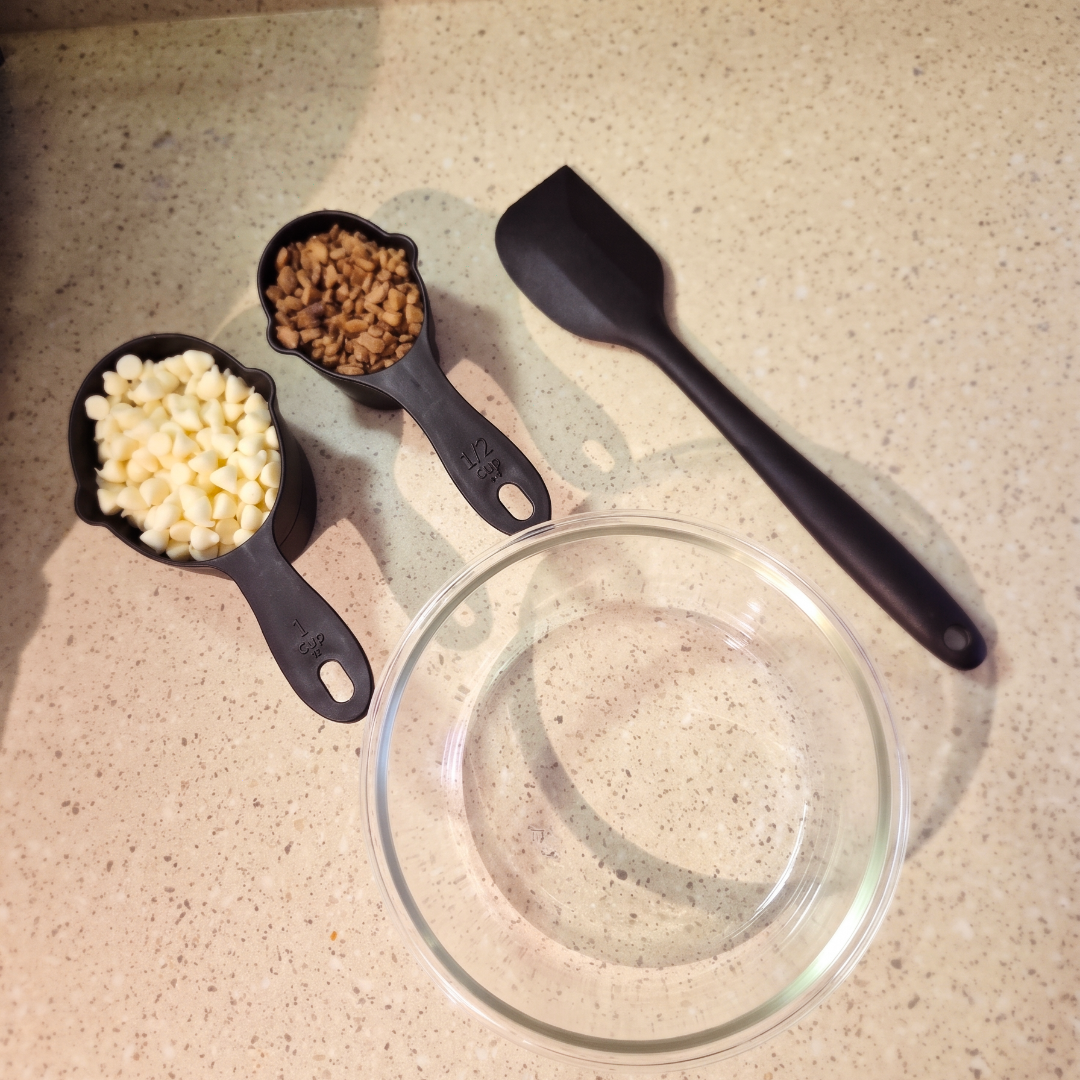
What You'll Need
2 cups vanilla baking chips (or vanilla candy melts)
1/4 to 1/2 cup cocoa krispies, depending on how much crunch you want
1 teaspoon vegetable oil, only if needed to make the chips smooth and pourable
Candy bar molds
A small baking sheet (optional, but helpful)
How to Make Reverse Crunch Bars
1. Melt the vanilla chips. Add the chips to a microwave safe bowl. Microwave at 50% power for 15 to 20 seconds at a time, stirring after each round. Keep going until the chips are melty and smooth.
2. Add oil if you need it. Toward the end of melting, take a look at the texture. If the vanilla doesn't look pourable, stir in the teaspoon of vegetable oil. If it already flows nicely off your spatula, skip it.
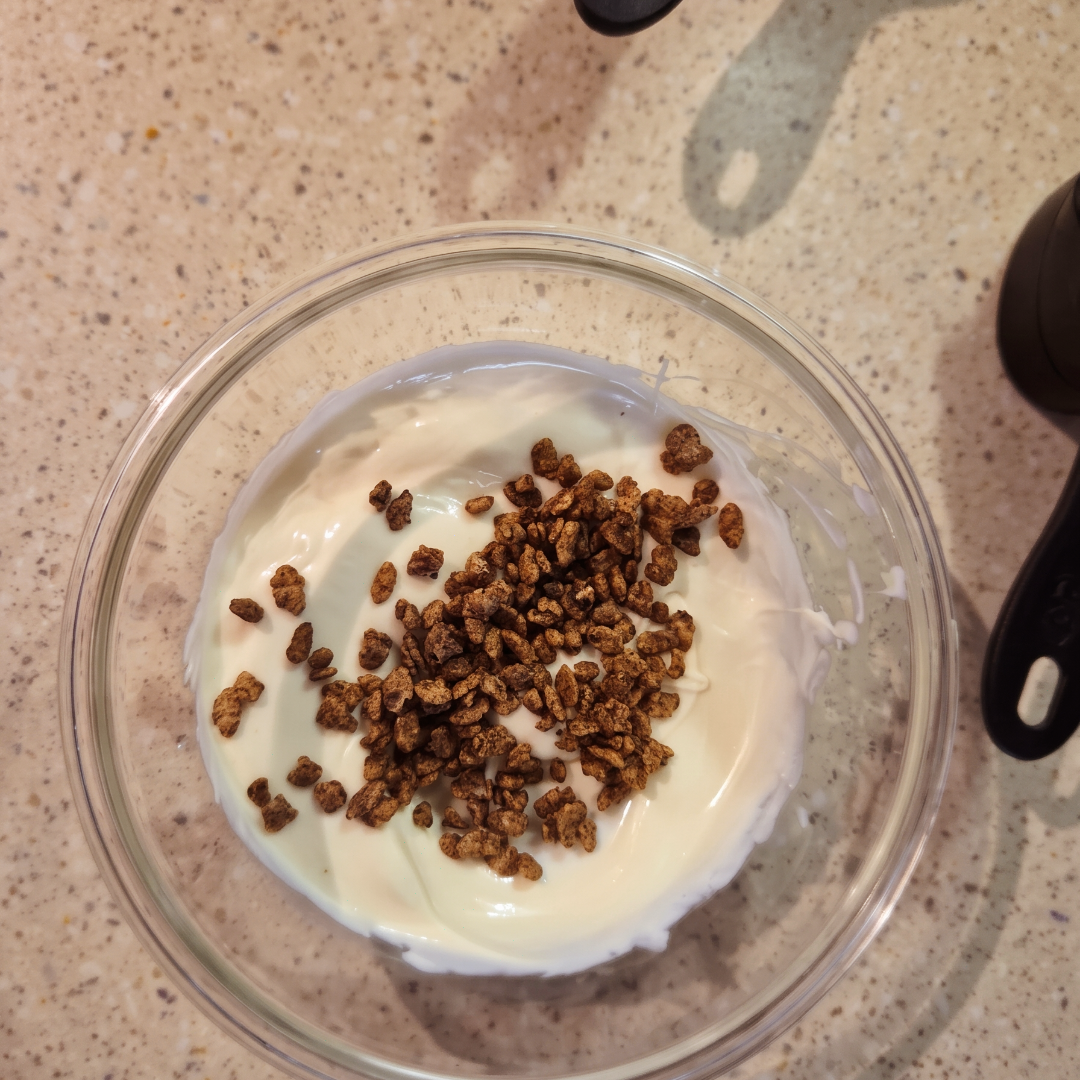
3. Fold in the cocoa krispies. Add the cereal and fold gently with a spatula until every piece is coated. Start with 1/4 cup for a lighter crunch, or go up to 1/2 cup if you want a bar that's packed with it.
4. Fill the molds. Set your molds on a small baking sheet first. This makes it much easier to carry them to the fridge or freezer without spilling. Use a spatula to scoop and pour the mixture into each mold.
5. Tap out the air bubbles. Give the molds a couple of firm taps on the baking sheet or counter. This settles the mixture and brings air bubbles to the surface so your bars come out smooth.
6. Let them set. Place the bars in the fridge for 15 to 20 minutes, or in the freezer for about 10 minutes, until firm.
7. Pop them out. Gently release the bars from the molds and snap one in half to see all that crispy goodness inside.
Tips for the Best Homemade Candy Bars
Use 50% power. Vanilla chips and candy melts can scorch quickly at full power. Short bursts at half power and a good stir after each one keep the texture silky instead of grainy or clumpy.
Go easy with the oil. A little goes a long way. You're only trying to loosen the mixture enough to pour, so add the teaspoon at the end and see how it looks before adding anything more.
Fold gently. You want whole, crunchy pieces of cereal in every bite, not crushed crumbs. Slow, easy folding keeps the texture where you want it.
Choose your crunch level. If you love a crisp bite, use the full 1/2 cup. If you'd rather have a creamier bar with a little crunch, stick with 1/4 cup.
Don't skip the baking sheet. It sounds small, but a filled mold is wobbly and awkward to carry. A baking sheet turns it into a one step move.
Fun Variations
Once you've made the original, the fun part is mixing it up. The same method works with all kinds of add-ins (and you can use a range of different candy molds to give each variation a different look too):
Fruity Pebbles: Swap the cocoa krispies for a colorful, fruity twist that's great for summer parties.
Crushed peppermint: Fold in a handful for a festive holiday treat.
Sprinkles: Stir them in for birthday bars that look as fun as they taste. I use Halloween sprinkles and pumpkin candy molds to make spooky sweets!
Food coloring: A few drops of food coloring lets you match these candy bars to any theme or holiday! Be sure to use oil-based food coloring made for use with chocolate and baking to keep the texture looking great.
You can even make a batch of each and set out a little candy bar sampler at your next get together.
How to Store Them
Keep your bars in an airtight container in the fridge so they stay firm and snappy. For the crunchiest bite, enjoy them within the first week, and plan on up to 2 weeks total. The cereal slowly softens as it sits. To keep a batch longer, wrap the bars well and freeze them, then let them sit at room temperature for a few minutes before serving.
Nutrition Information
This recipe makes about 12 bars at 1 ounce each. Your yield will vary with your mold size, so weigh one finished bar if you want to fine tune the numbers.
Per 1 ounce bar/Amount
Calories 160
Total fat 8 g
Saturated fat 7 g
Cholesterol 0 mg
Sodium 25 mg
Total carbohydrate 18 g
Dietary fiber 0 g
Total sugars 18 g (all added sugars)
Protein 2 g
Nutrition information is an estimate based on Toll House Premier White baking chips and Kellogg's Cocoa Krispies, and it will vary with the brands you use.
Ways to Serve Them
Wrap each bar in cellophane or parchment and tie it with ribbon for a homemade gift.
Tuck one into a goody bag as a sweet party favor.
Add them to a dessert table or snack board.
Keep a stash in the fridge for an easy after school or after dinner treat.
Frequently Asked Questions
Do I have to use vegetable oil? Nope. It's only there as a backup. If your vanilla chips or candy melts are already smooth and pourable, you can leave it out.
Can I use candy melts instead of baking chips? Yes. Vanilla candy melts and vanilla baking chips both work in this recipe, so use whichever you have on hand.
Should I use the fridge or the freezer? Both work. The freezer is faster, at about 10 minutes, and the fridge takes 15 to 20 minutes. Use whichever fits your schedule.
Can I use a different cereal? Absolutely. Fruity Pebbles are a colorful favorite, and you can also try other crispy cereals you already have in the pantry.
Your New Favorite 3 Ingredient Treat
Reverse crunch bars are one of those recipes that look like you went to a lot of trouble but really didn't. Melt, fold, pour, chill, and you've got homemade candy bars with a satisfying snap. Make a batch this weekend, then switch up the mix-ins next time to match whatever you're celebrating.
Reverse Crunch Bars
Creamy vanilla candy bars with chocolatey cocoa krispies inside. Three ingredients, a microwave, and a fridge.
Ingredients
- 2 cups vanilla baking chips (or vanilla candy melts)
- 1/4 to 1/2 cup cocoa krispies, depending on how much crunch you want
- 1 teaspoon vegetable oil, only if needed to make the chips smooth and pourable
Instructions
- Add the vanilla chips to a microwave safe bowl. Microwave at 50% power for 15 to 20 seconds at a time, stirring after each round, until melty and smooth.
- Toward the end of melting, add the vegetable oil if the vanilla doesn't look pourable.
- Gently fold in the cocoa krispies.
- Set candy bar molds on a small baking sheet. Use a spatula to pour the mixture into the molds.
- Tap the molds a couple of times on the baking sheet or counter to remove air bubbles.
- Chill in the fridge for 15 to 20 minutes, or in the freezer for about 10 minutes, until set.
- Pop the bars out of the molds.
Notes
- Swap the cocoa krispies for fruity pebbles for a colorful bar, fold in a handful of crushed peppermint for a holiday treat, or add sprinkles for birthday bars.
- Store in an airtight container in the fridge. Best within the first week, and up to 2 weeks total. Freeze for longer storage.
Nutrition
Per 1 ounce bar: 160 calories, 8 g fat (7 g saturated), 0 mg cholesterol, 25 mg sodium, 18 g carbohydrate, 0 g fiber, 18 g sugars, 2 g protein.
Nutrition is an estimate based on Toll House Premier White baking chips, Kellogg's Cocoa Krispies (1/4 cup), and 1/2 teaspoon of oil, and varies with the brands and amounts you use. Contains milk and soy from the baking chips.