How to Make Sensory-Friendly Halloween Favor Crackers (No Snap, No Pop)
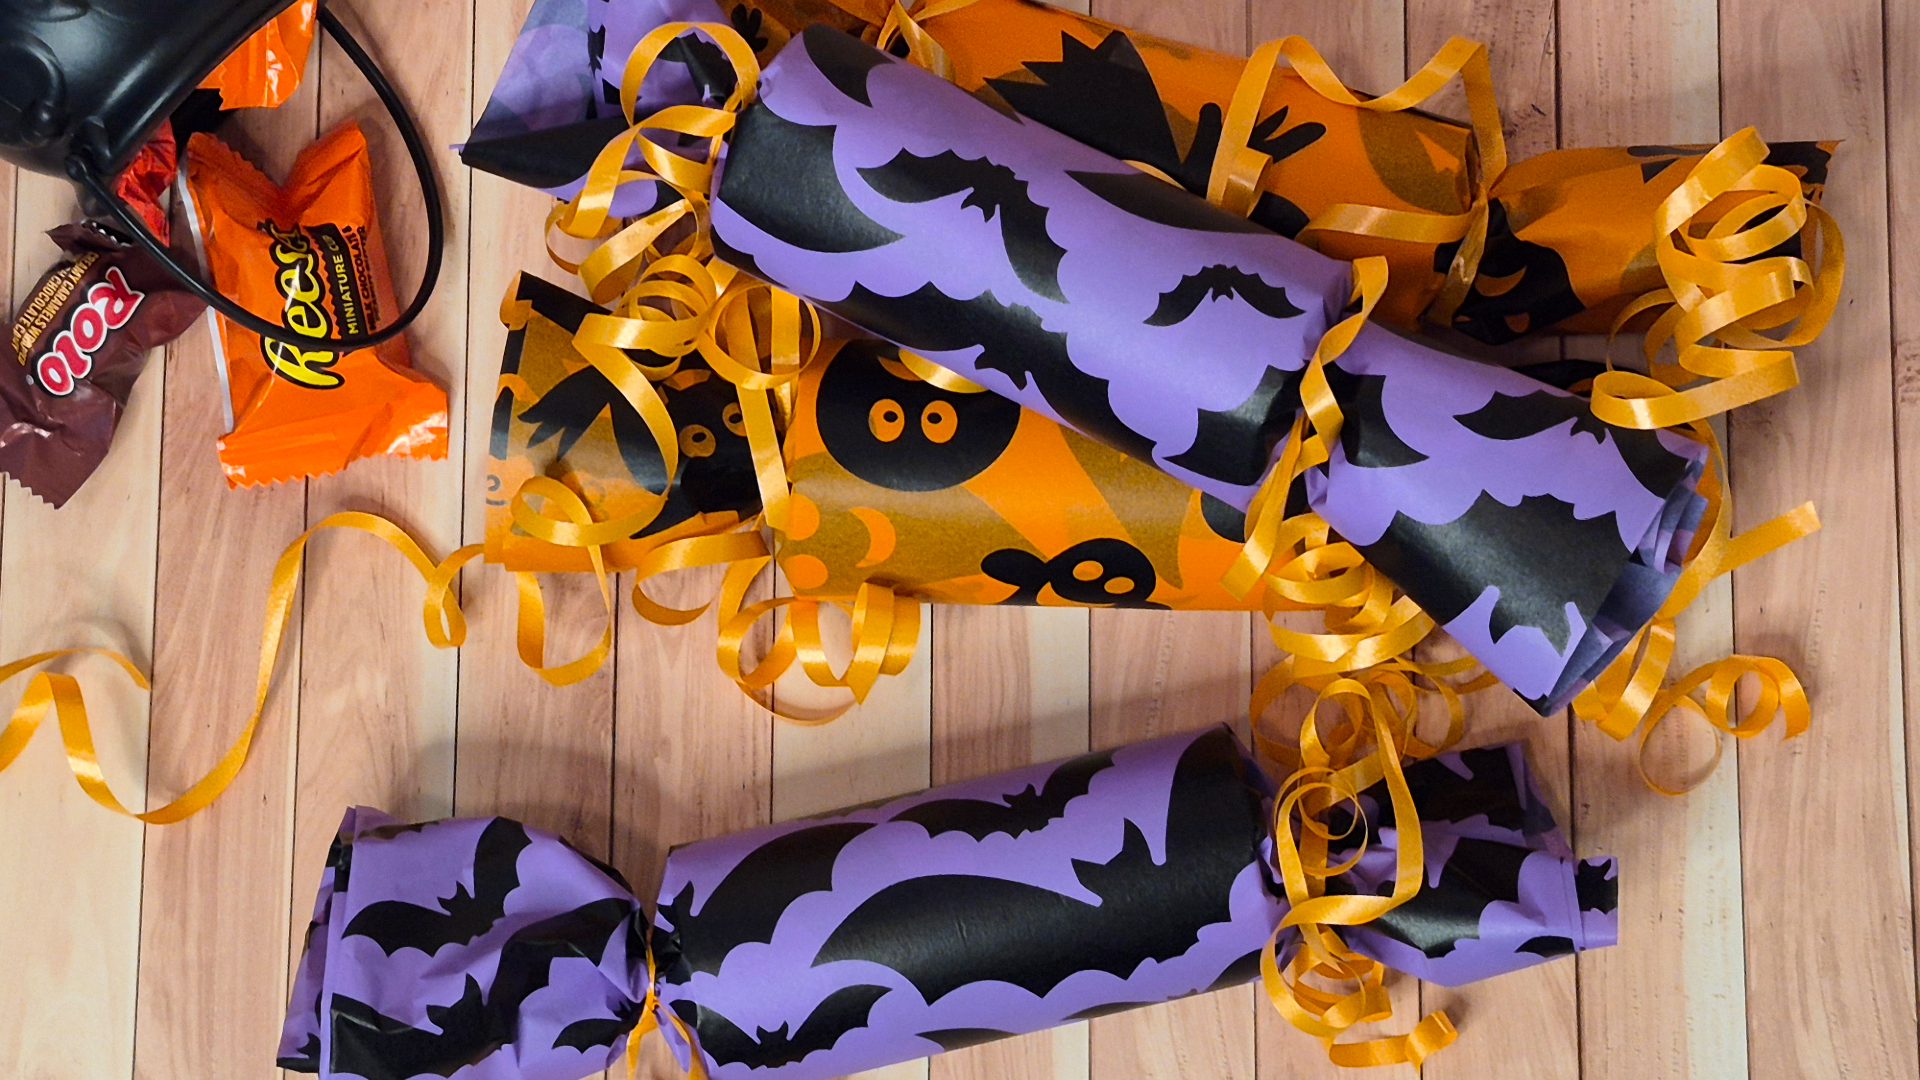
These Halloween favor crackers are a sensory-friendly way to celebrate the spooky season! Image credit: Daisies in Clover
This Halloween take on Christmas crackers is a great sensory-friendly choice for kids. They deliver the fun surprise of a treat without the pop that can make some kids uncomfortable. Another key to making these Halloween crackers truly sensory friendly is to choose a paper (tissue or wrapping paper) that has a texture your kids like. They're perfect if you have a sensory-sensitive kid in the house, but they also just make a fun Halloween activity.
What You'll Need for Sensory-Friendly Halloween Favor Crackers
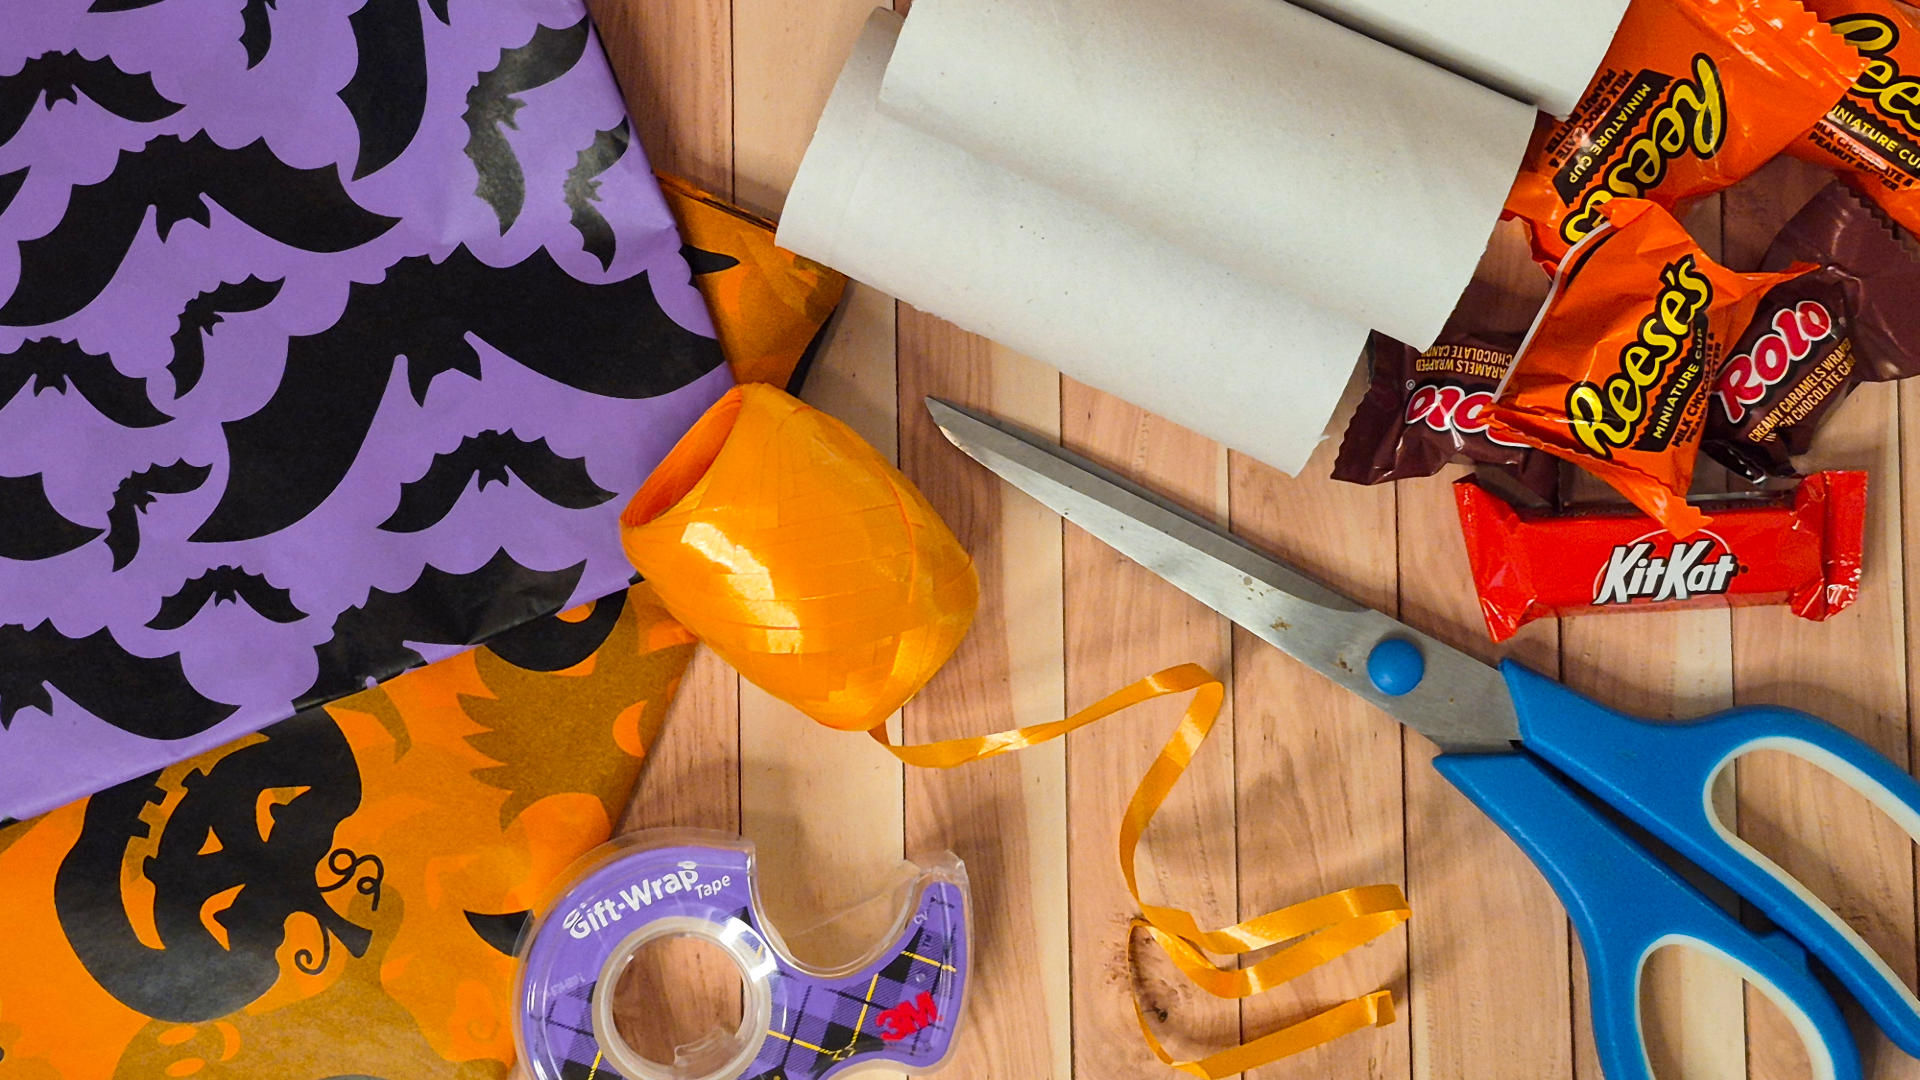
Just a few supplies make this Halloween project easy to pull together! Image credit: Daisies in Clover
The following sections feature several affiliate links or ads, meaning we’ll earn a small commission if you purchase through these links. Please see our privacy policy for more details.
The supply list for this project is surprisingly short! The biggest task will be to save up some empty toilet paper tubes (but you can also use paper towel tubes cut into halves or thirds).
Halloween-themed tissue paper or wrapping paper (bats, ghosts, or pumpkins all work great)
Empty toilet paper rolls (one per cracker)
Curling ribbon in a coordinating color
Scissors
Tape (a gift wrap tape works well here since it's low profile)
Small wrapped candies, or your treat of choice (see swaps below)
Use leftover tissue paper to fill boo baskets or to make other Halloween crafts! Twine or fabric Halloween-themed ribbons also work, so you can experiment with different looks every year.
How to Make Sensory-Frienly Halloween Treat Crackers
Cut your paper to size. You'll want a rectangle roughly twice the length of your toilet paper roll, with a few extra inches (about 3 inches) on each end to twist closed. I used smaller tissue paper sheets, which only needed to be cut in half.
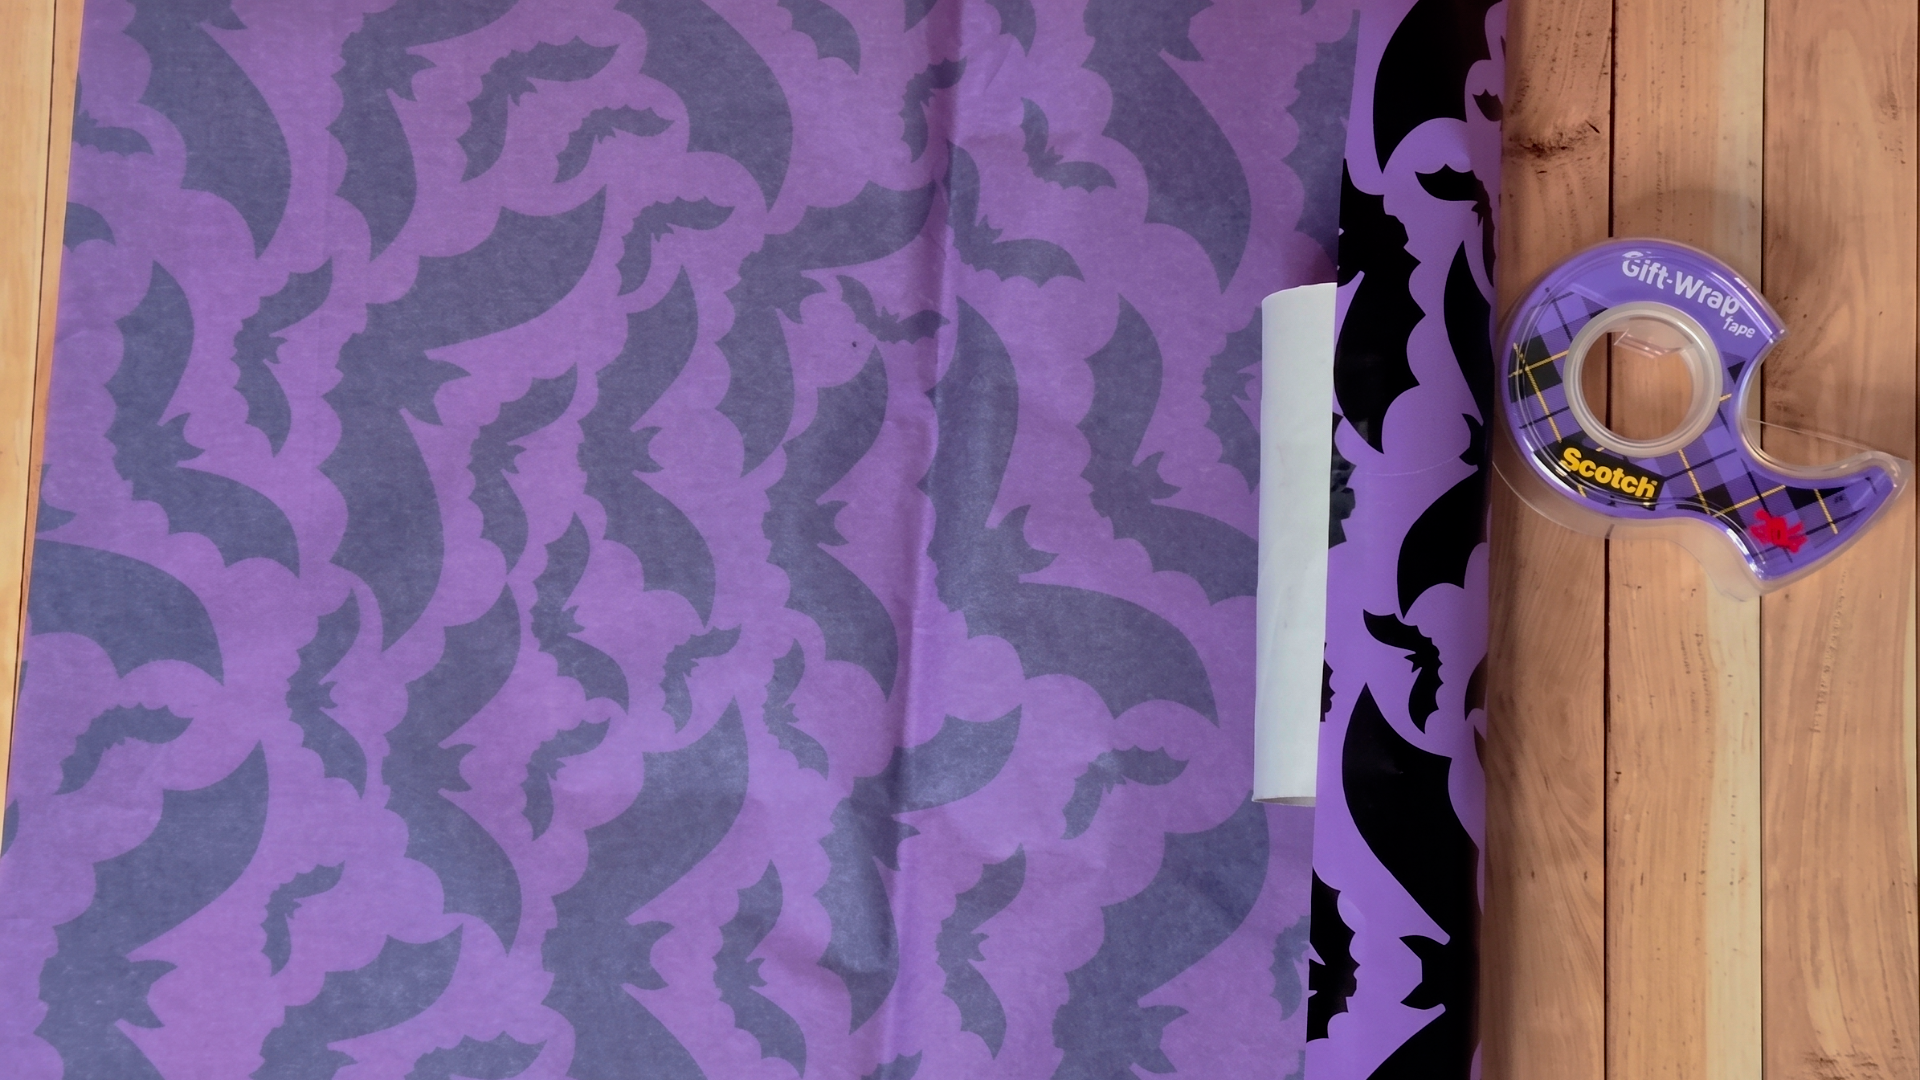
Once your paper is cut to size, wrapping the tube is simple. Image credit: Daisies in Clover
Wrap and tape. Roll your paper around the tube and secure the long seam with a strip of tape. You can use one piece of tape to secure the paper to the roll, but only using a single piece of tape to secure the paper after it’s rolled does make the crackers easier to open.
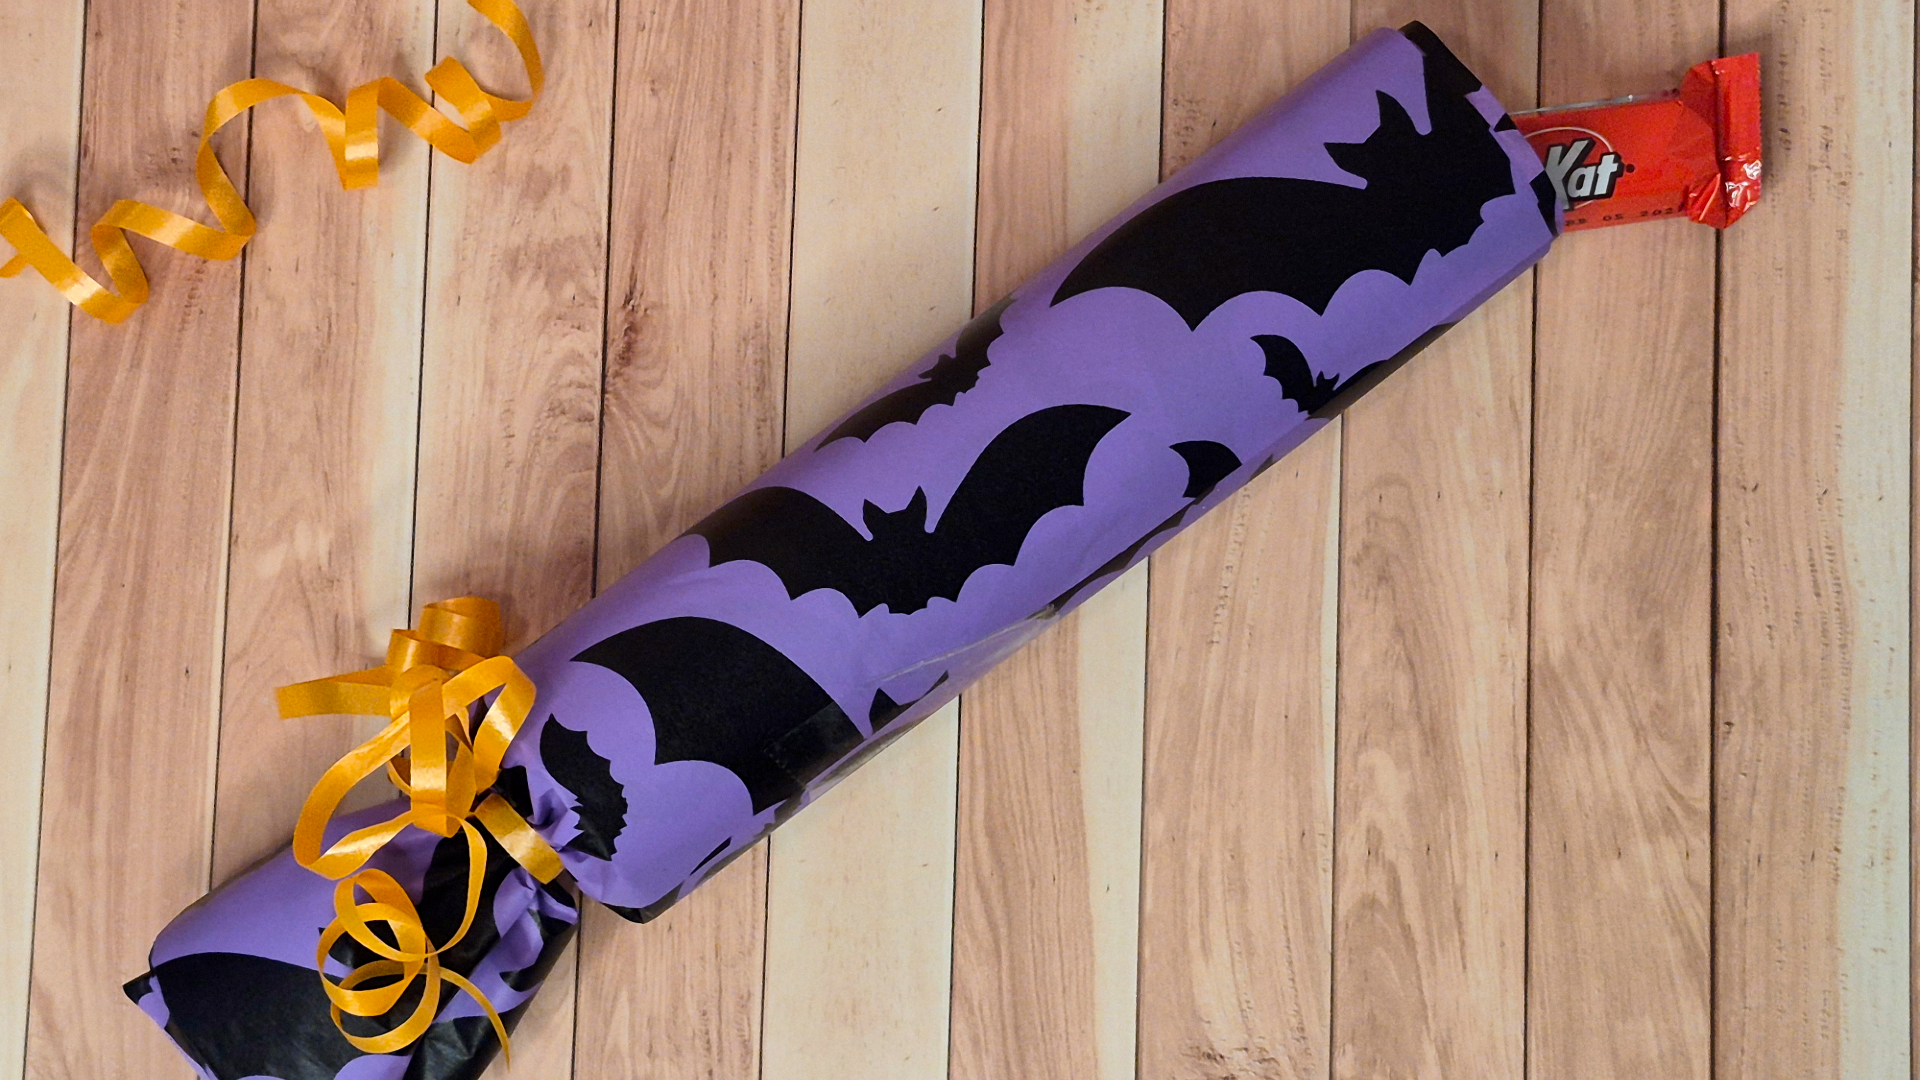
Twist one end and tie it off. Gather the paper at one end, twist gently, and tie a length of curling ribbon around it. You can fluff out the edges after the ribbon is tied to give it a fuller look.
Fill with treats. Do this after the first end is tied off but before you tie off the second. There’s no rule for this step. Use as much candy as will fit in the tube or just place a couple of small treats inside. Just make sure that the treats don’t extend past the edge of the tube so you can tie it off properly.
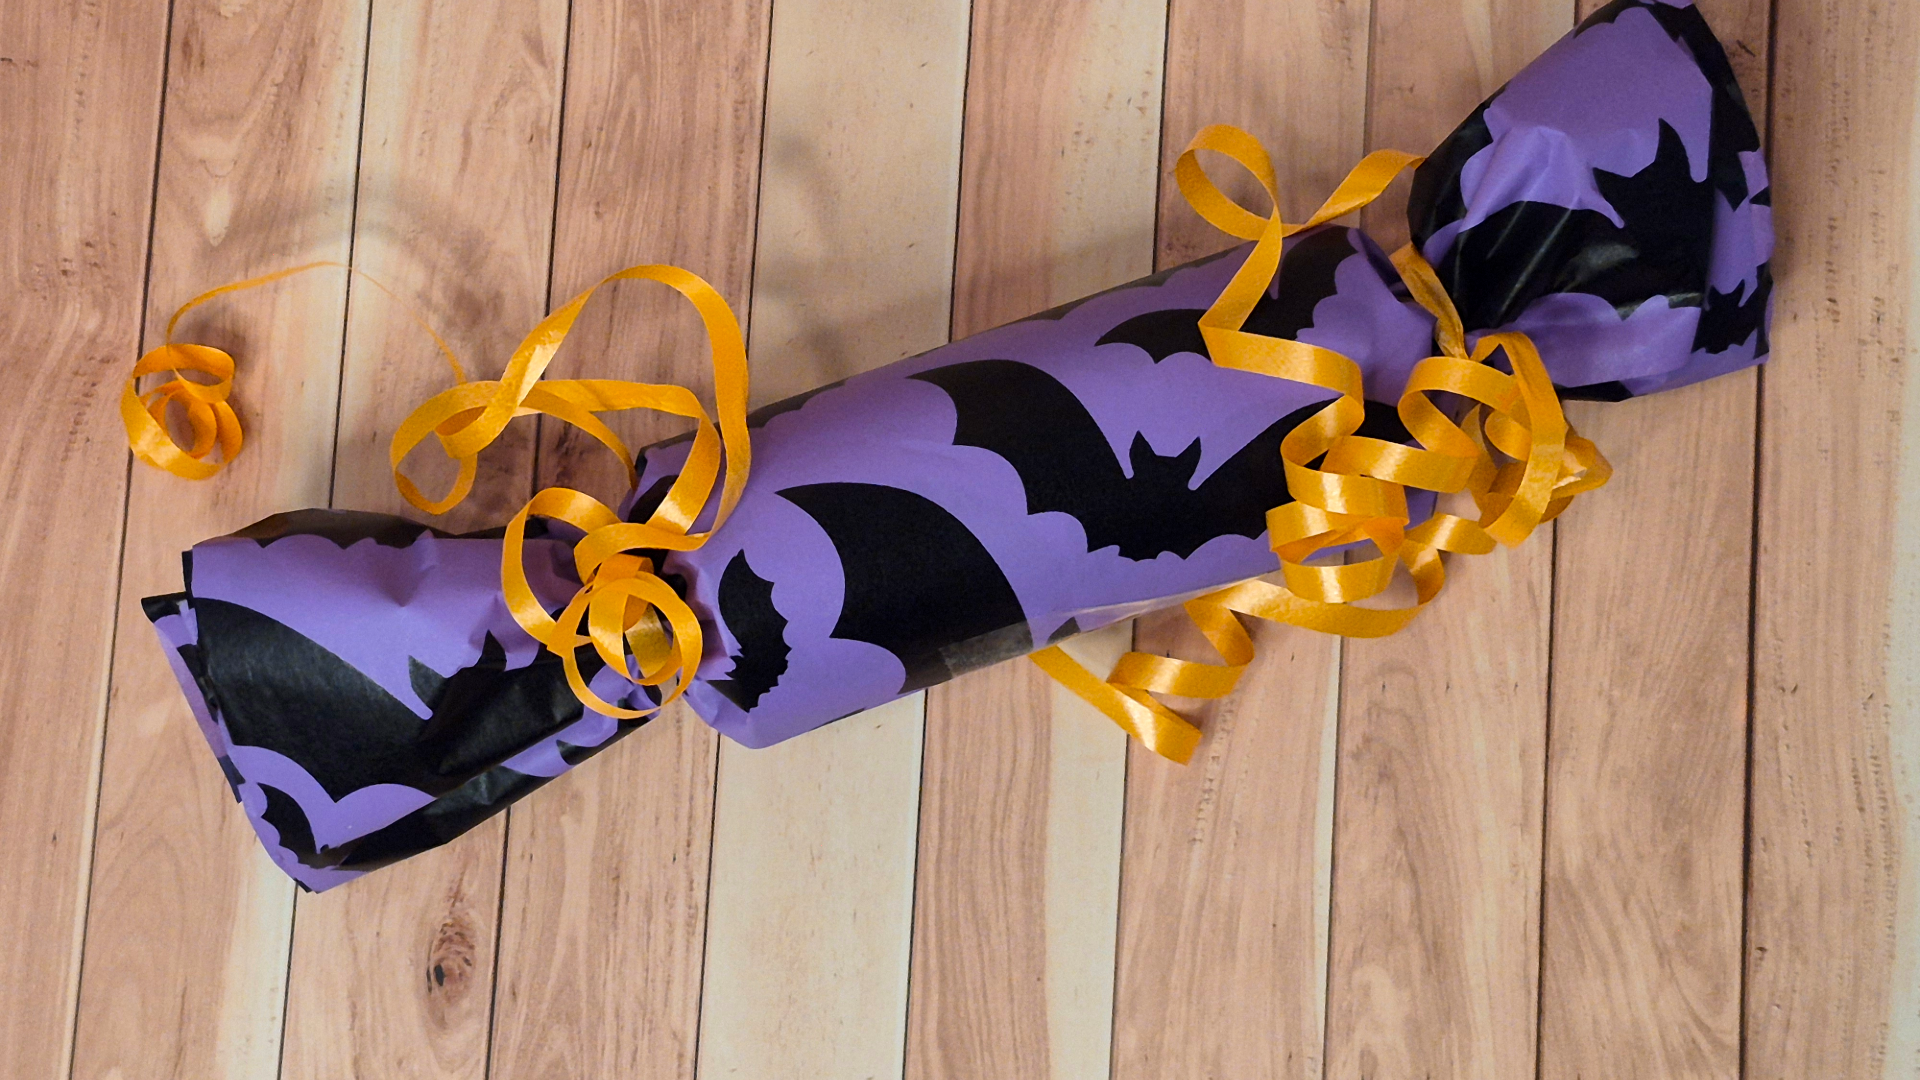
Repeat the twist-and-tie method. Tie off the other end, then curl your ribbon ends with the edge of your scissors for that classic finished look.
It’s that simple. You don’t need a glue gun or anything fancy. The edges don’t have to be perfect, and the ribbon can be as simple or complicated as you like. Add extra lengths of curling ribbon to make them look fancy or simply use twine for a classic, rustic Halloween vibe.
How to Use Halloween Treat Crackers
I actually came up with these during the first COVID Halloween, when we weren’t even sure if trick-or-treating was going to happen. I made and hid a handful of the Halloween crackers around the house for a treat scavenger hunt, and it ended up being one of our favorite Halloween memories from that year.
Since then, I've used the same idea a few different ways:
A hide-and-seek treat hunt. Tuck them around the house or yard and send kids off to find them, no candy bowl required.
A party favor. Set one at each place setting for a Halloween dinner or party. You can also pile them in a bowl for guests to grab on their way out.
A lowkey trick-or-treat option. If your neighborhood doesn't get a huge turnout, these are a nice alternative to buying a giant bag of candy you'll only partly hand out.
A boo basket filler. If you do the "you've been booed" tradition, a few of these tucked into a basket makes opening everything its own activity.
A boo basket alternative. If making full boo baskets for all your kids’ friends is too pricey or complicated, simply make them a Halloween cracker with some candies and maybe one small trinket instead. It’s a fun gift that doesn’t break the bank.
How to Make this Halloween Activity Your Own
The treats inside are entirely up to you, which makes this easy to adapt for allergies, dietary needs, or just personal preference:
Swap candy for stickers, mini erasers, or temporary tattoos for a non-food option.
Use the crackers as part of the scavenger hunt. Put clues in each cracker to help them find the next one!
Use allergy-friendly candy if you're making a batch for a classroom or group setting (100-percent fruit juice snacks are a great choice).
Match your ribbon and paper to any color scheme, this isn't limited to Halloween once you have the method down. They make great favors at birthday parties, and they’re even more fun as July 4th treats (use red, white, and blue tissue paper to create the look of July 4th firecrackers without the noise, smoke, or mess!).
No matter how you use these crackers, they’re fun to make and fun to receive. If you love this idea, check out some of our other Halloween party planning and activity posts for more inspiration!